Table of Contents
How to Manage Customer Wallet
SimplaTask simplifies the way you create and manage customers, ensuring a fast and efficient process. This guide will show you how to manage customer wallet: add cards and ACH account quickly and easily, from beginning to end.
If you need help updating a customer, click here!
If you need help deleting a customer, click here!
If you need help importing customers, click here!
If you need help creating customers, click here!
Before You Start:
Before you begin, ensure the following requirements are met:
- Permissions: You need Manager, Admin, or Owner-level access to create invoices.
How to Access the Customer Dashboard
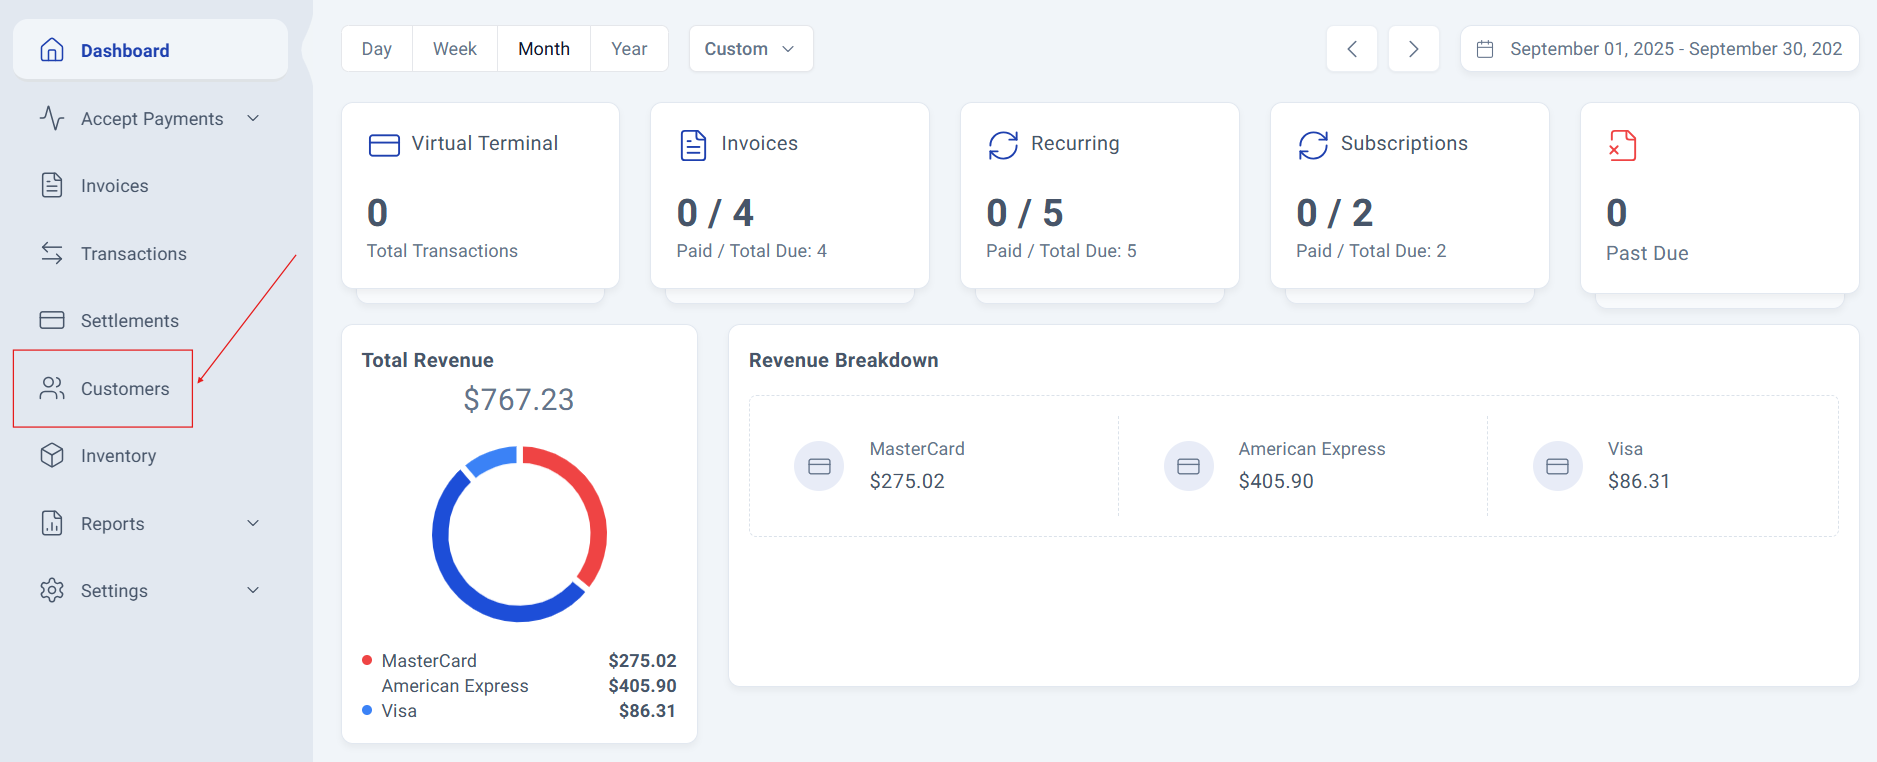
Step 1: Locate the customer section.
Navigate to your Customers section located on the left side of the main screen.
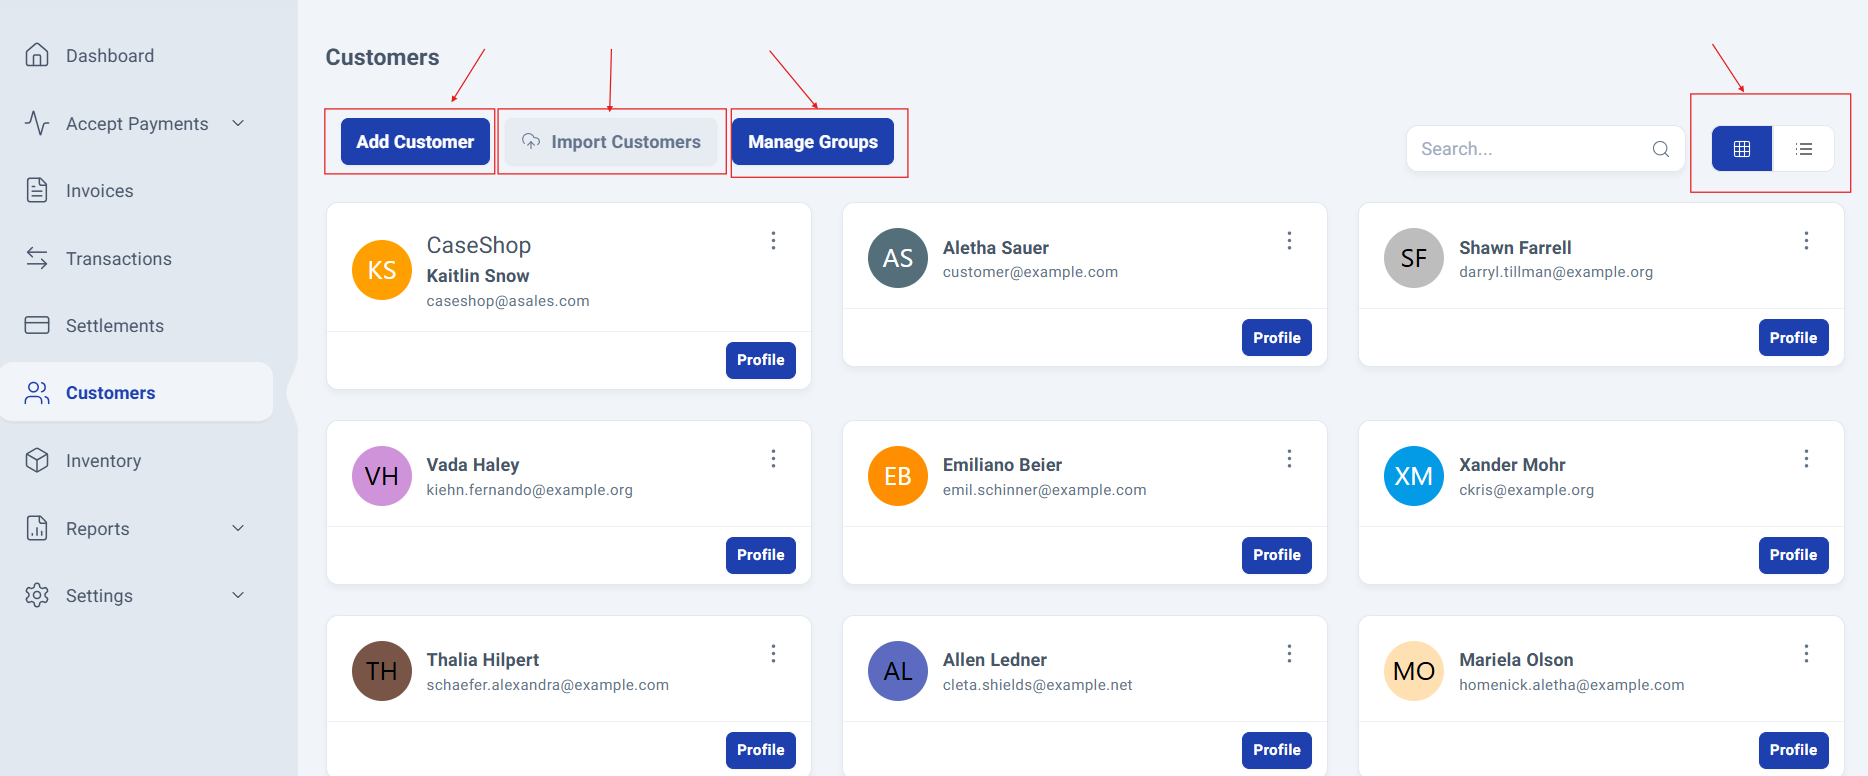
Step 2: Access the Customer Management Panel.
The Customer Management Panel will be displayed, giving you quick access to the following options:
Add Customer
Import Customers
Manage Groups
You’ll also see all previously added customers, with two available viewing modes: Grid (default) and List.
Customer Wallet Management
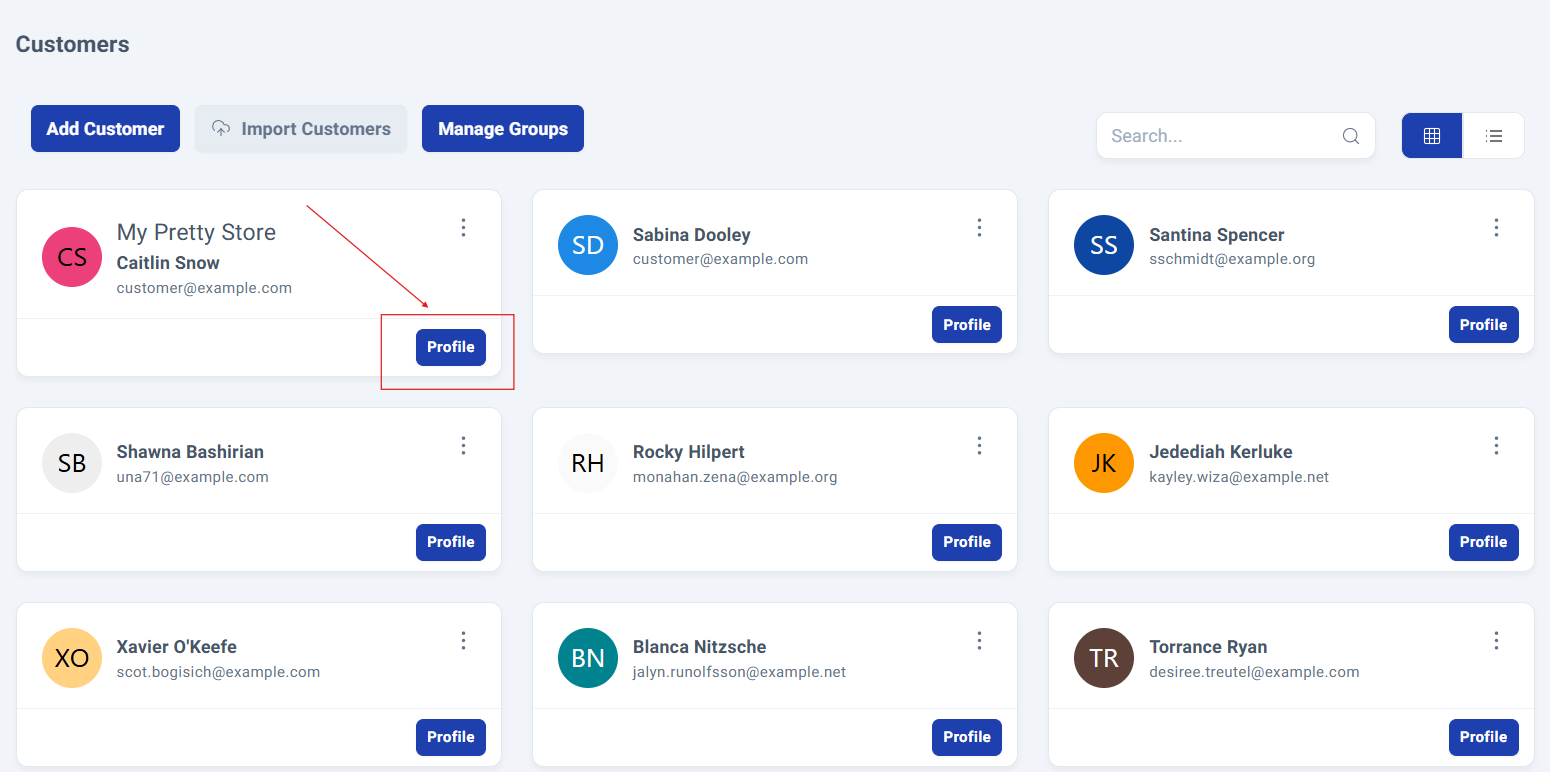
Step 3: Finding the Customer.
Locate the client whose wallet you want to manage and click the Profile button.
This opens the comprehensive customer panel displaying all their information: Summary, Account profile, Members, Invoices, Transactions and Wallet details.
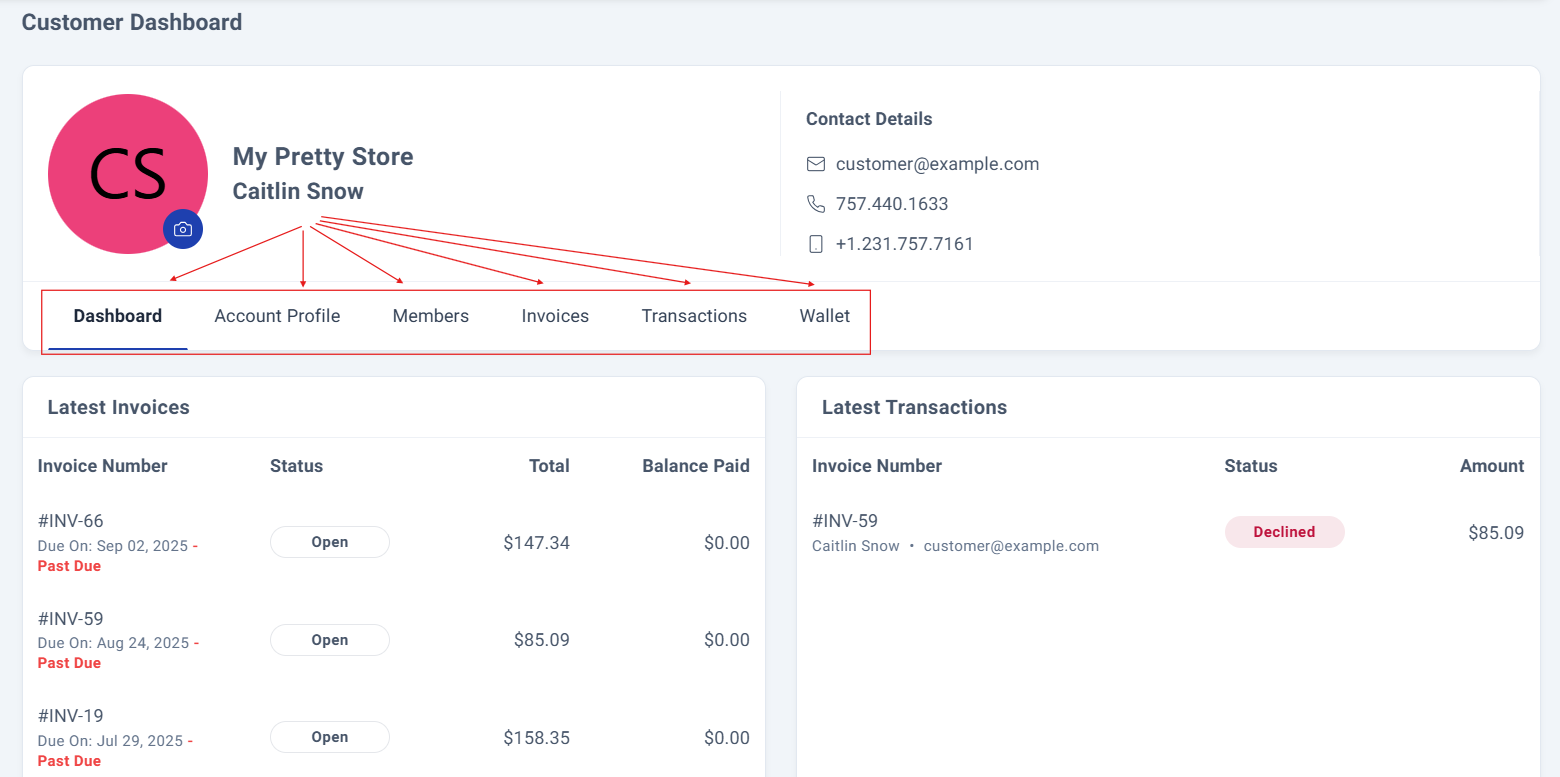
Step 4: Accessing the Wallet Section.
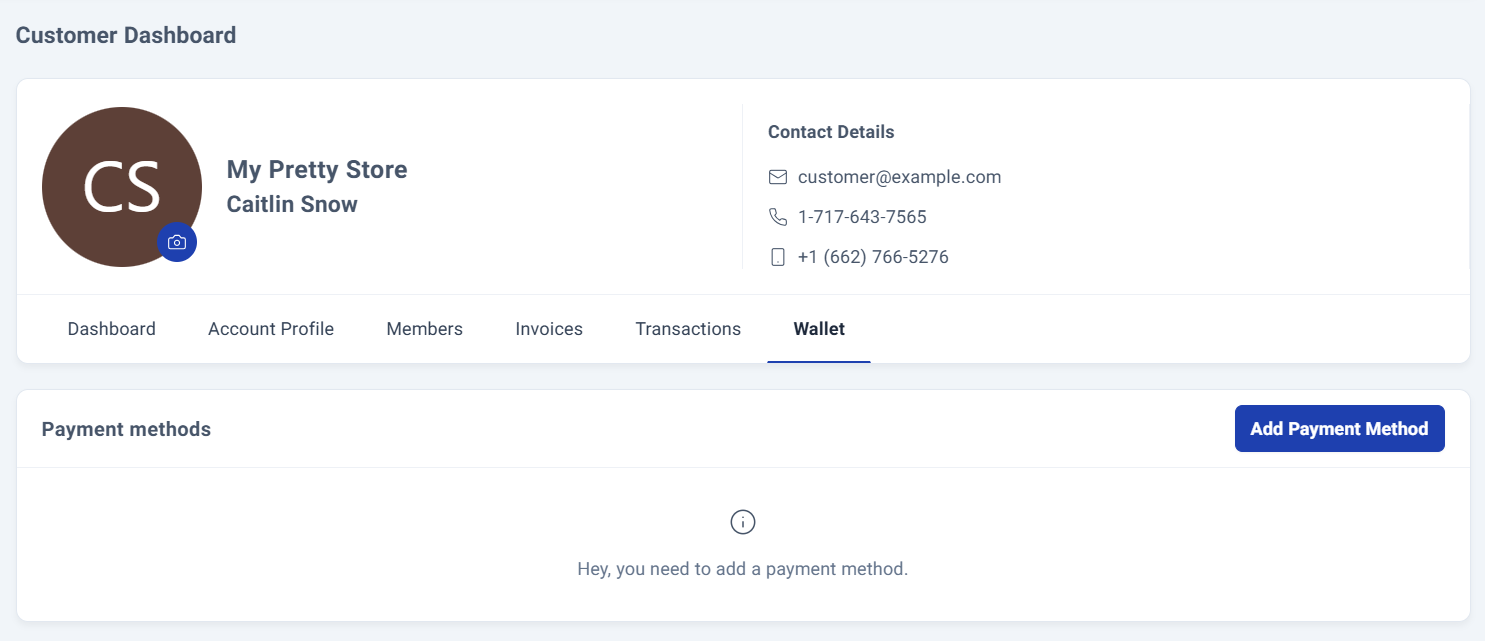
Select "Account Profile" to access the wallet section. If you don't have any payment methods added, it will be shown empty.
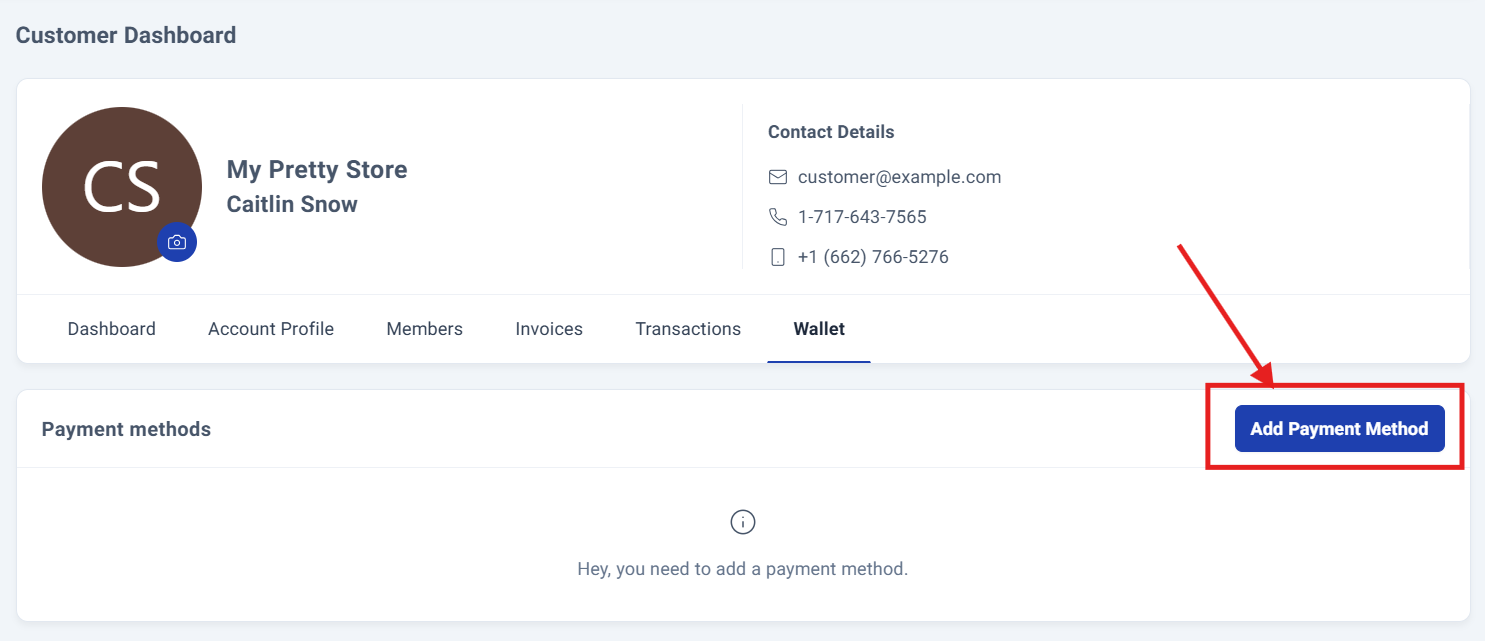
Adding Payments Methods.
In the customer's wallet section on the right side, you'll find the Add Payment Method button.
Clicking this button opens a window displaying the two available payment options for your customer: Credit/Debit Card and/or Bank Account.

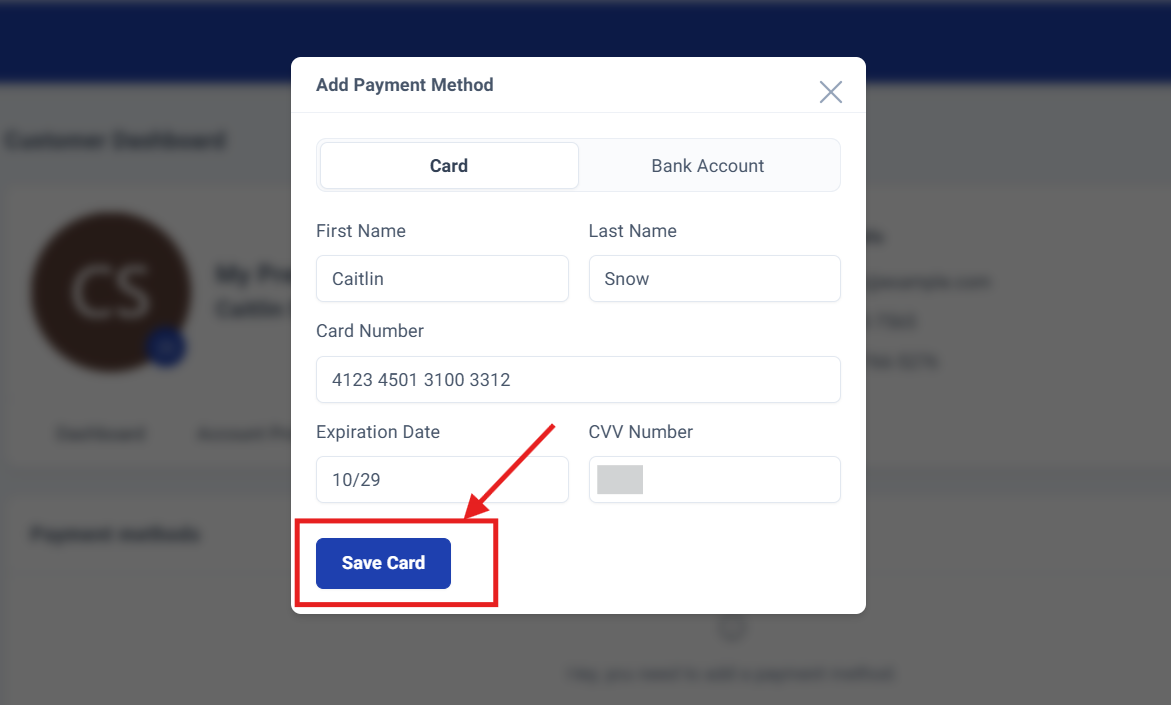
Step 5: Adding Cards .
Select your preferred payment method by simply clicking on the option name.
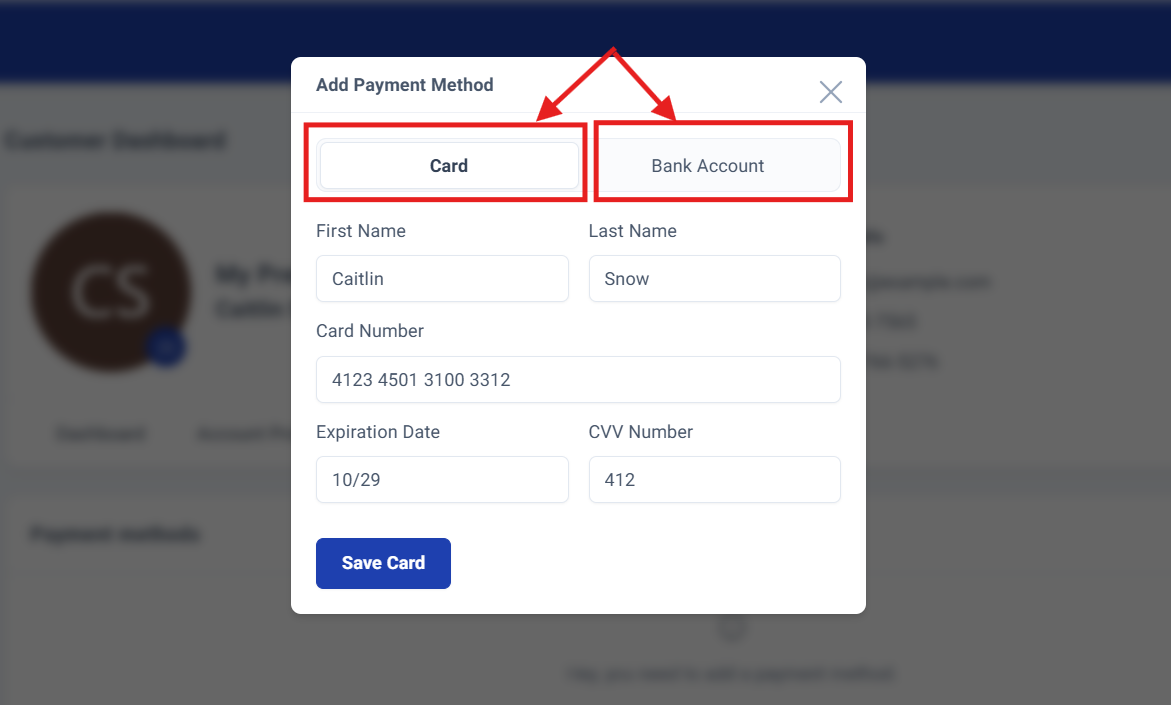
The card option is set as default, displaying a secure form with the following fields: first name, last name, card number, expiration date, and CVV number.
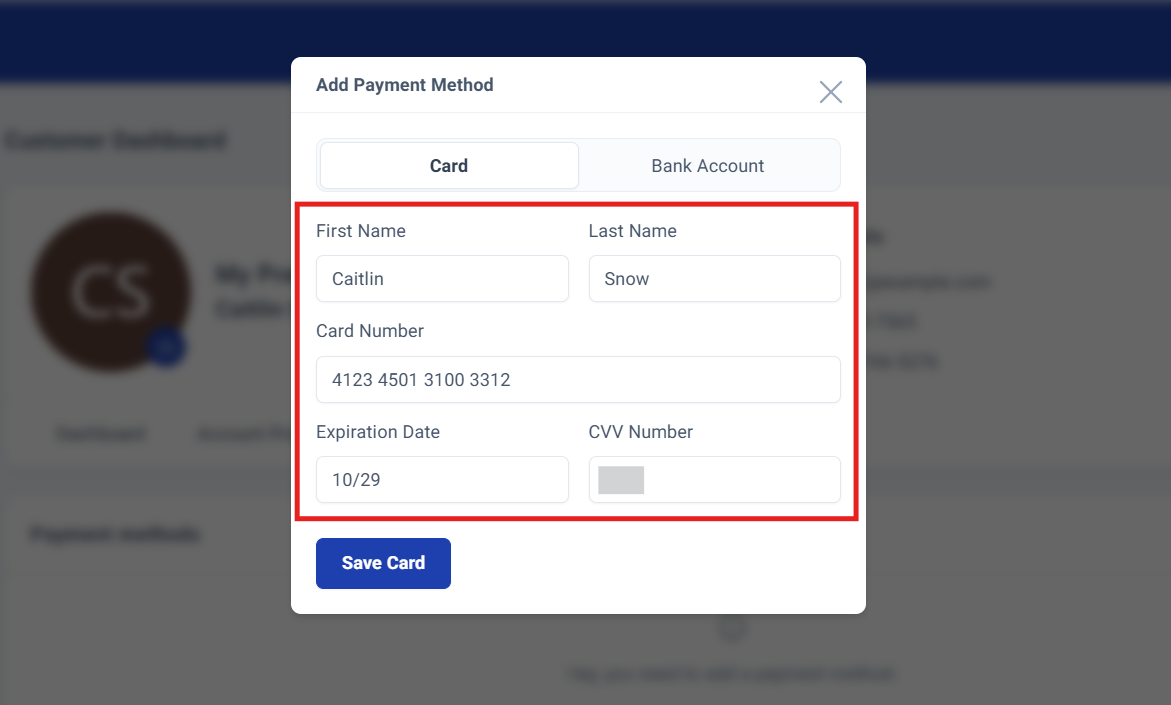
Once all fields are completed, click Save Card to finalize the process.
A success confirmation message will appear in the upper right corner, confirming your payment method has been added successfully.
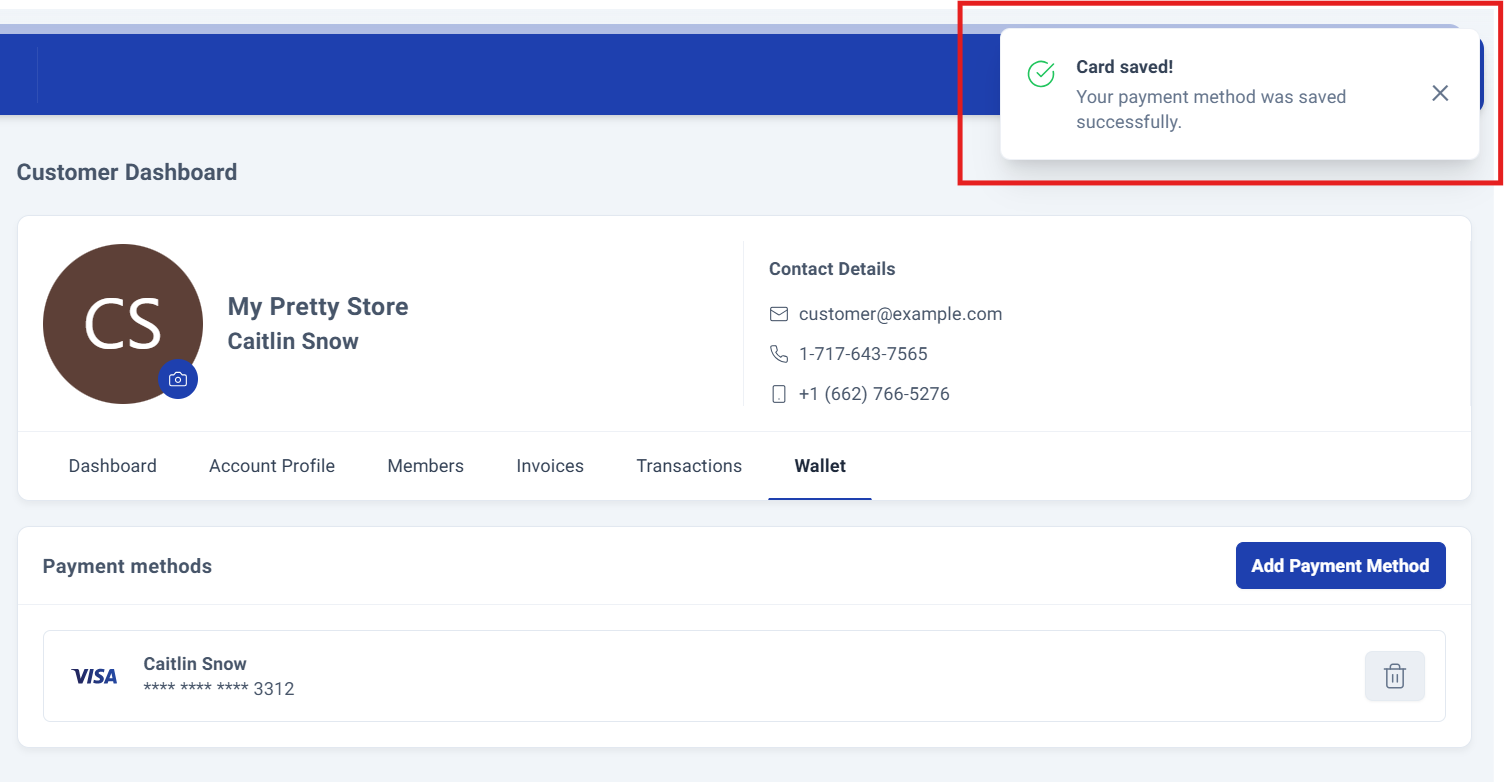
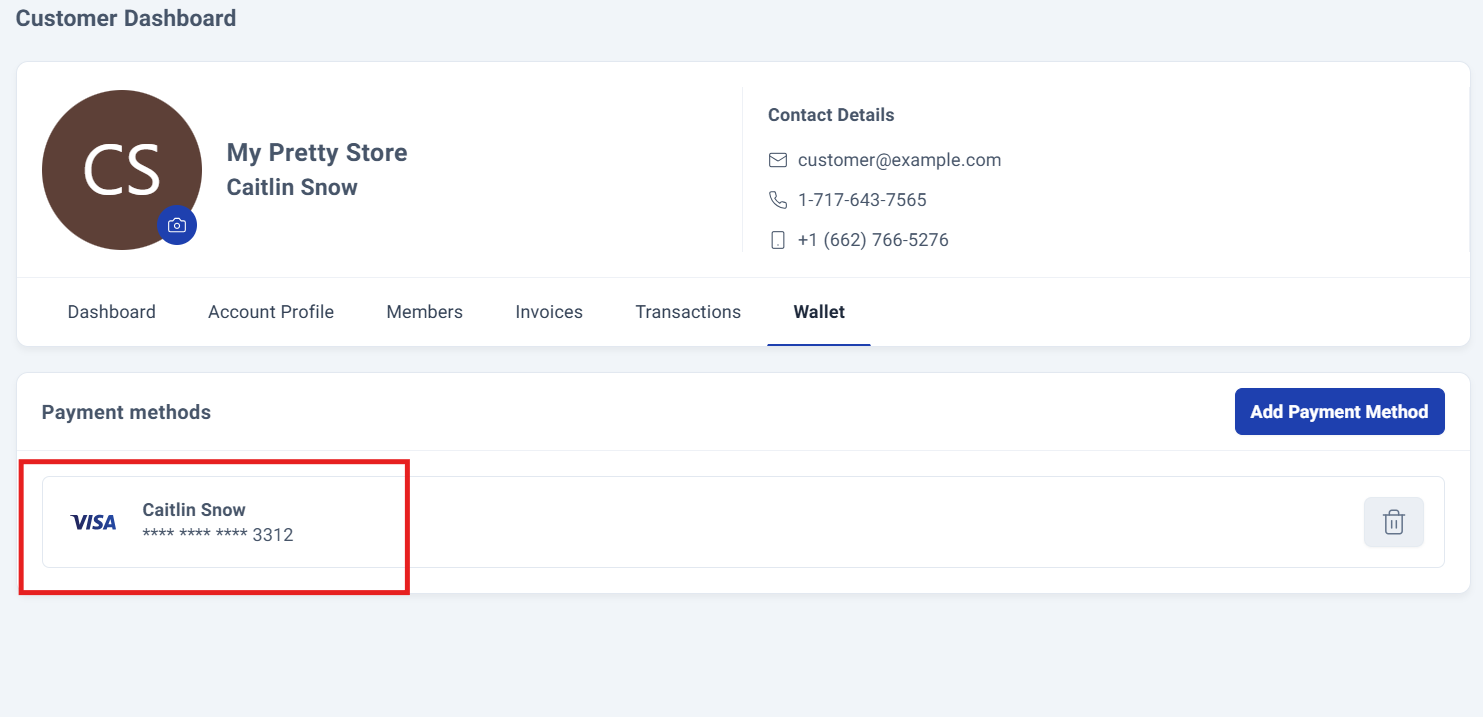
Your newly added payment method will immediately appear in the Payment Methods section below, ready for use.
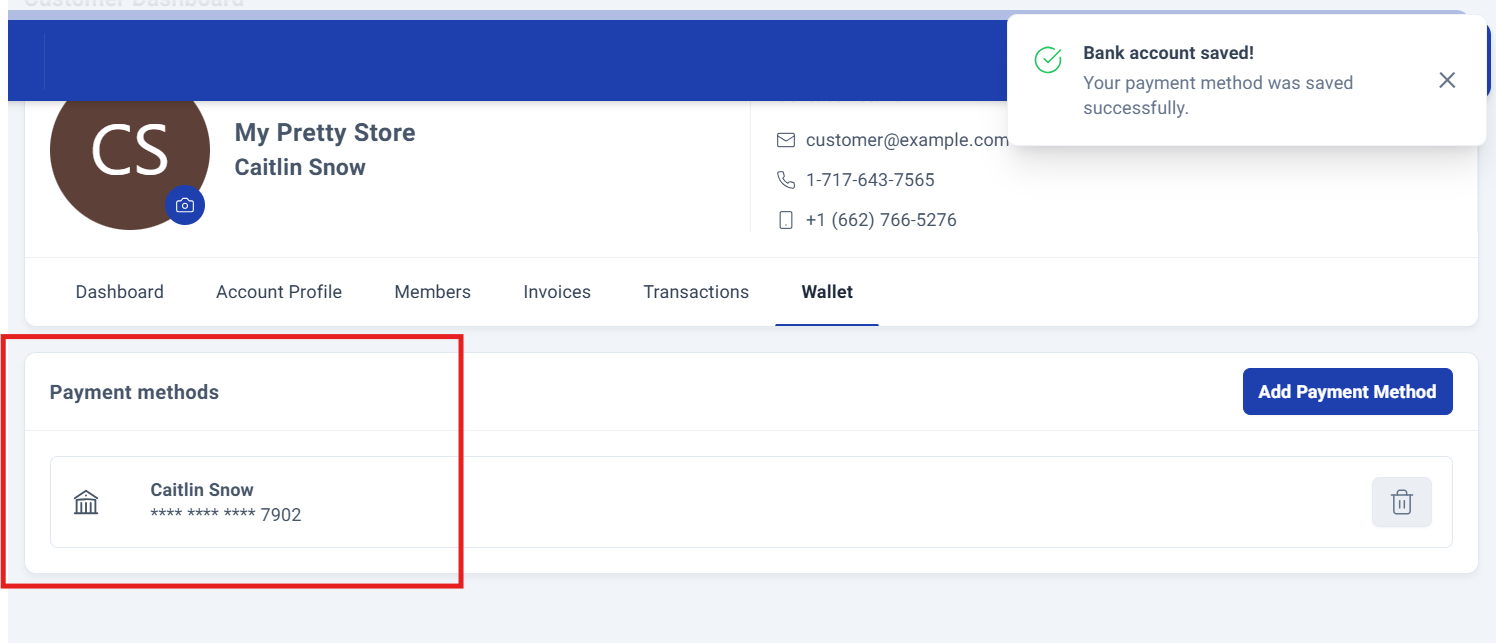
Step 6: Adding Bank Account.
To add a bank account, select the Bank Account option to display the dedicated form for entering your account details.
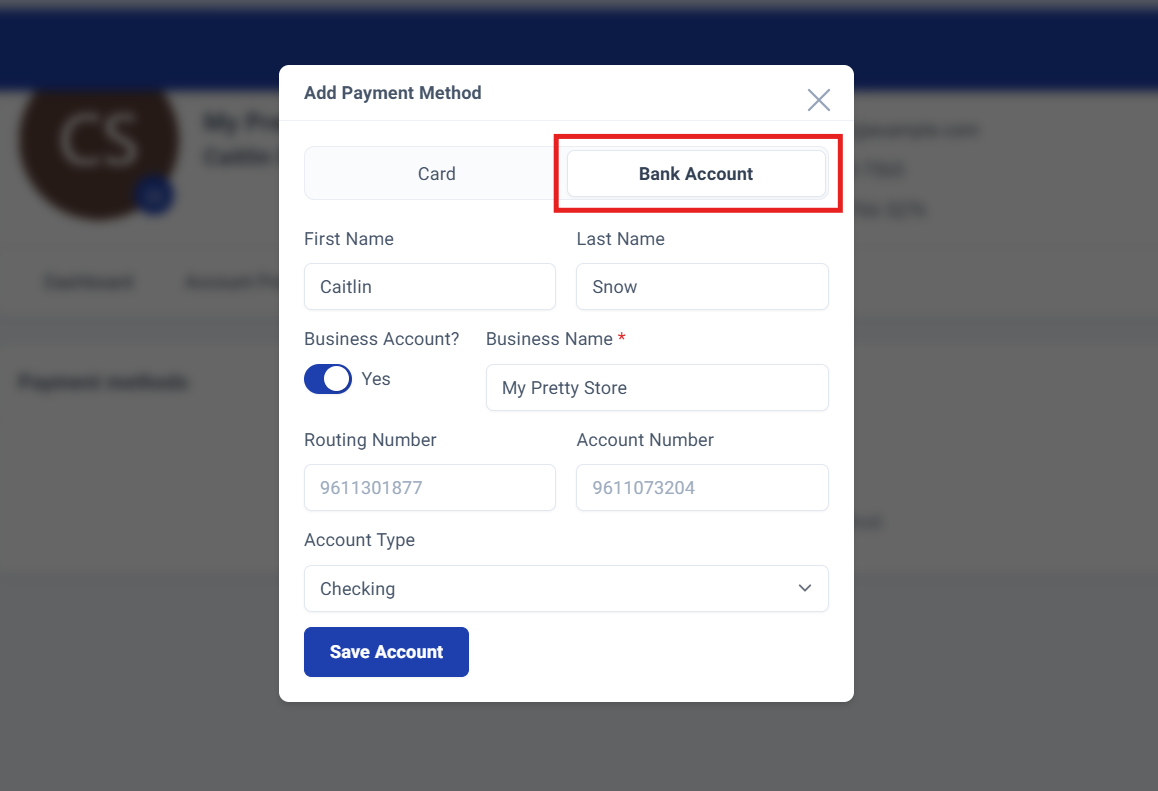
The form includes essential fields along with the option to designate the account as a business account and enter the business name.
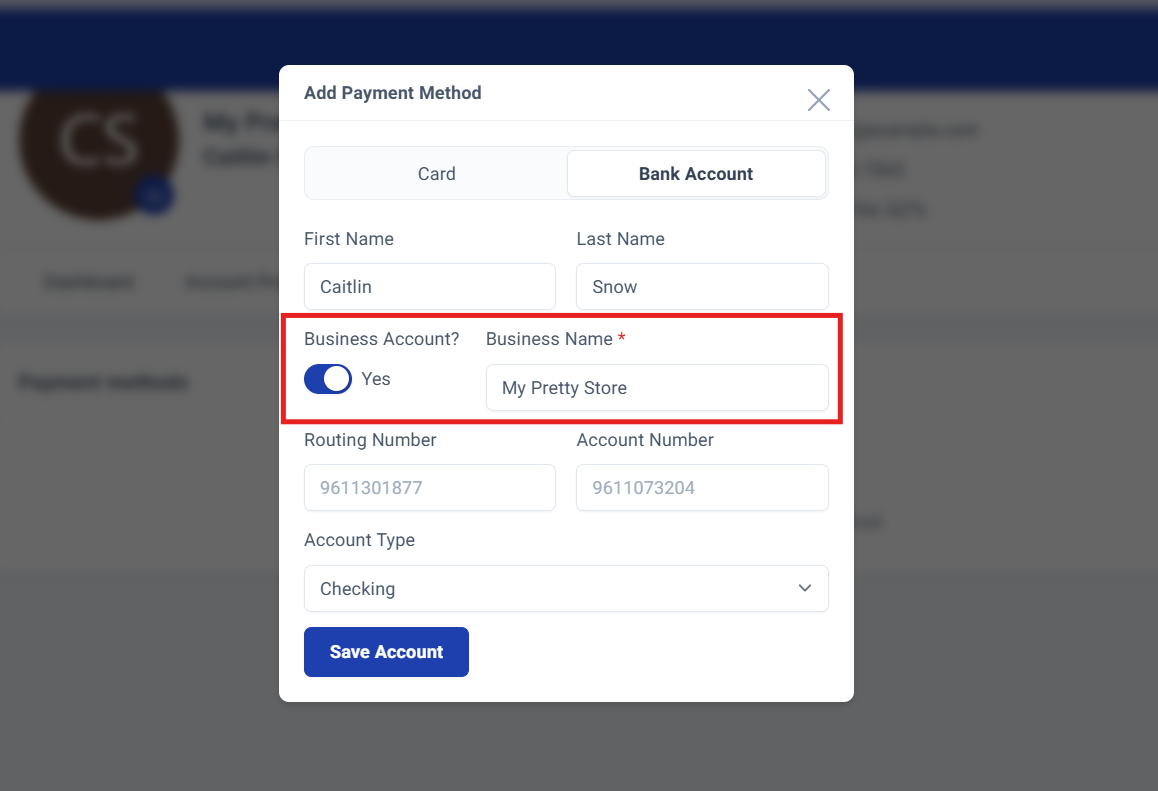
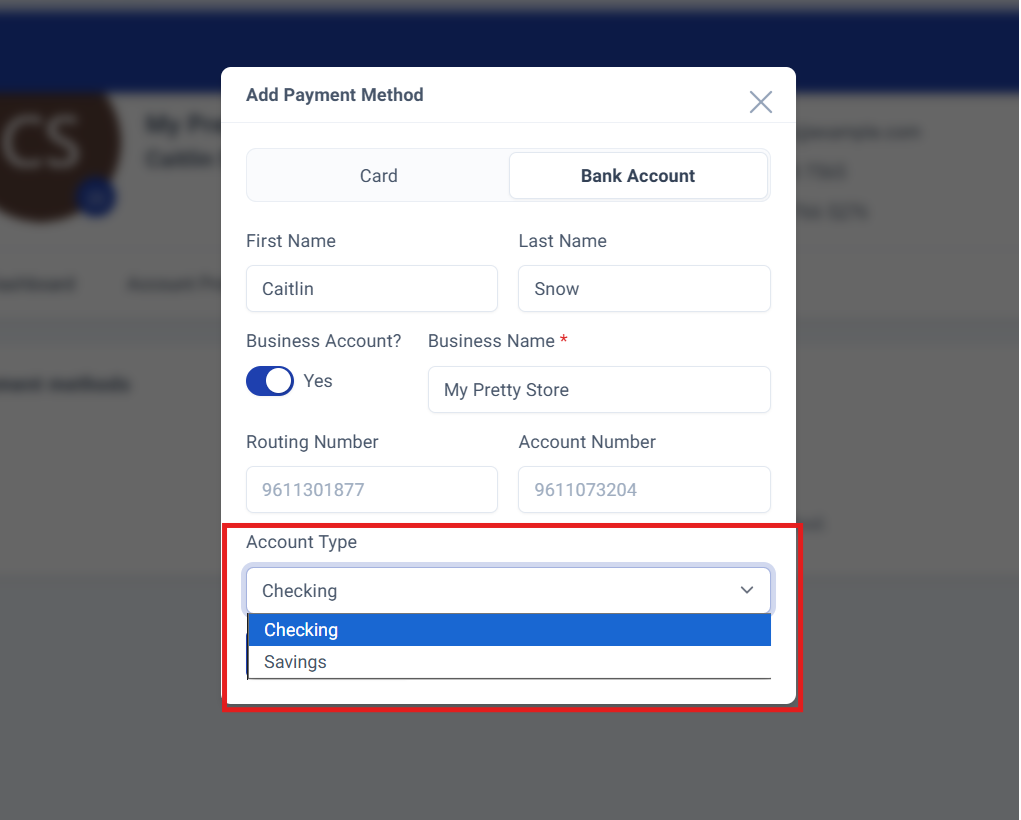
You'll also select your account type: Checking or Savings.
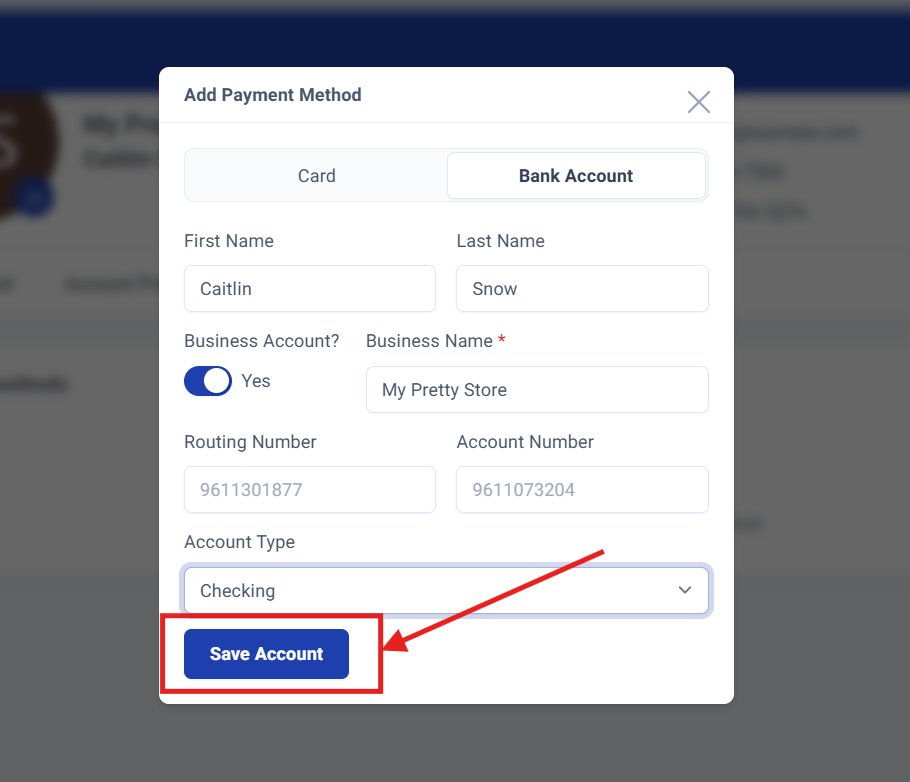
Once all fields are completed, click Save Account to finalize the process.
A success confirmation message will appear in the upper right corner, confirming your payment method has been added successfully.
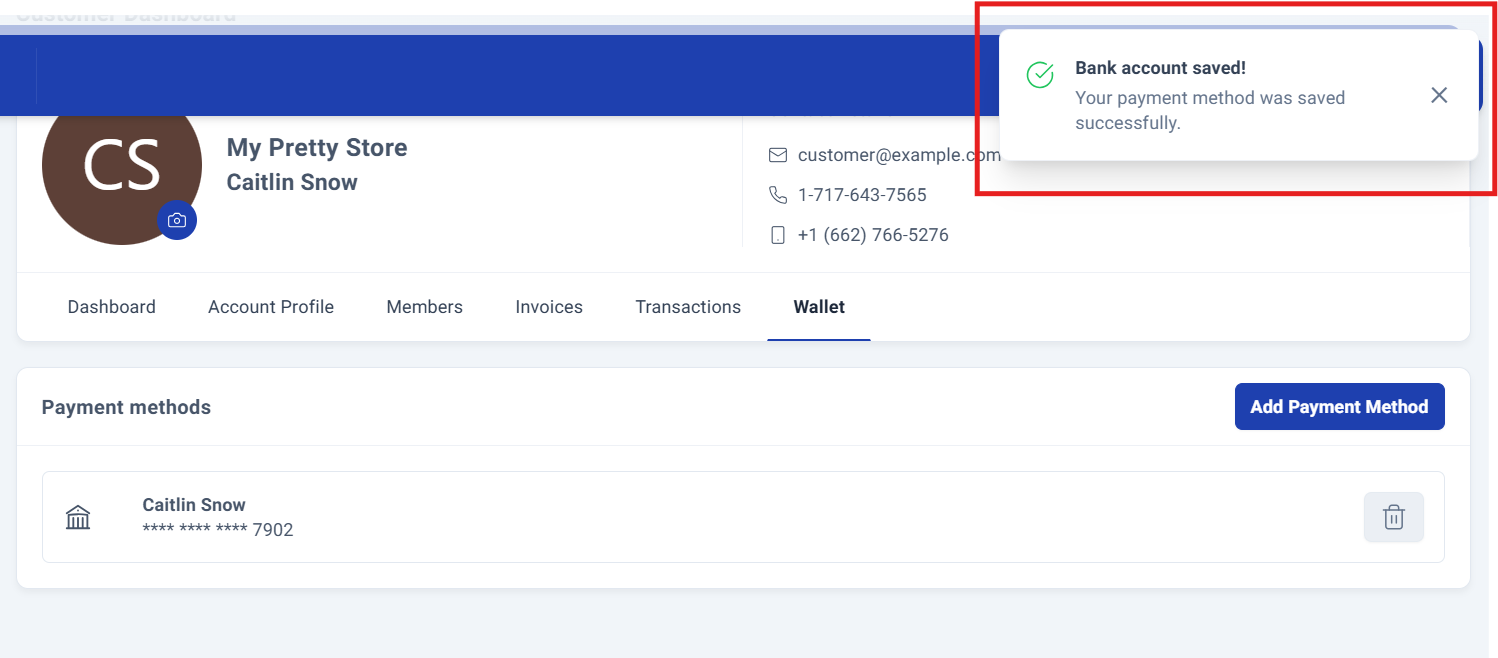
Your newly added payment method will immediately appear in the Payment Methods section below, ready for use.
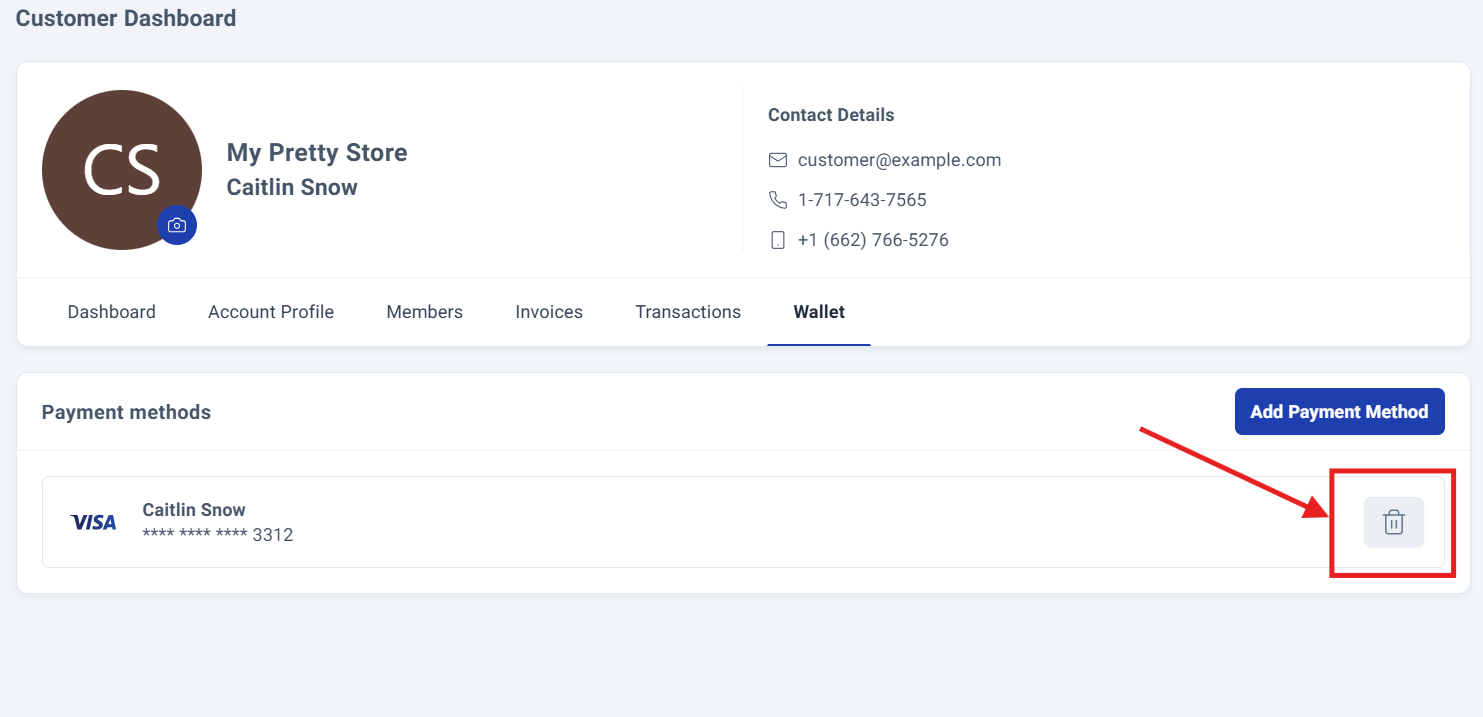
Deleting Payments Methods.
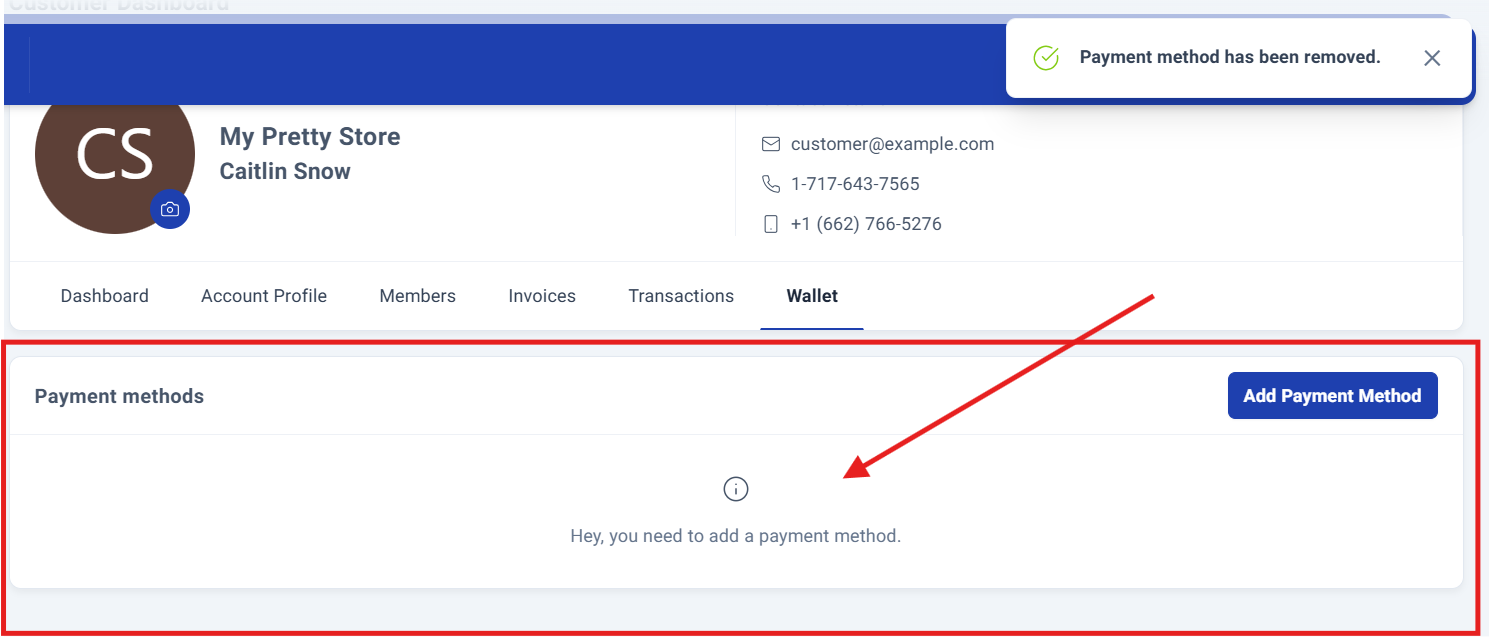
When you need to remove a payment method, simply click the trash icon to initiate the deletion process.

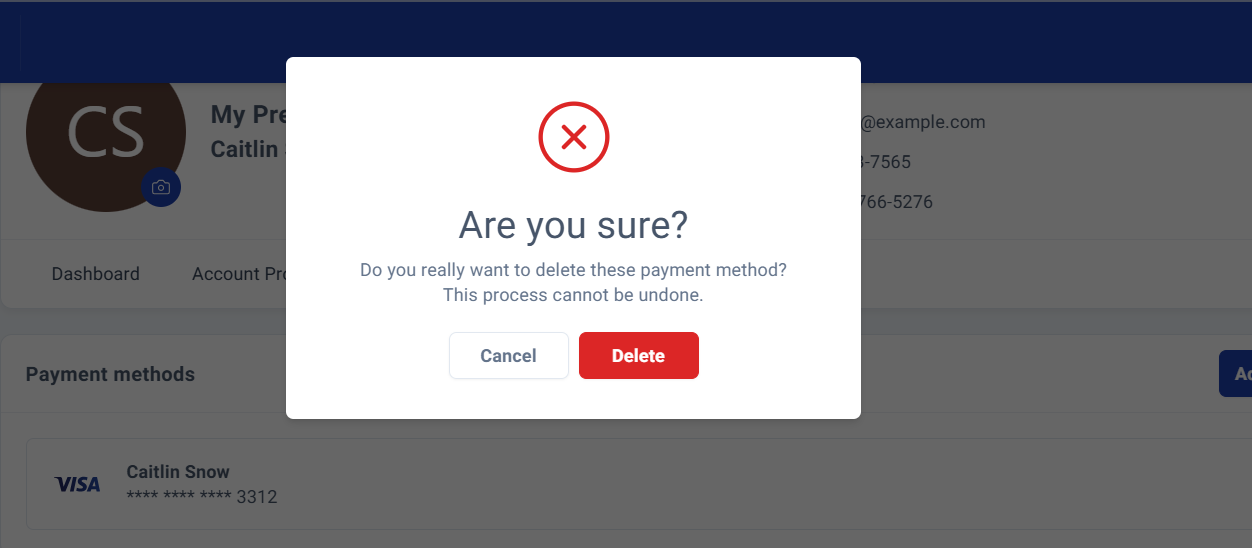
The system will prompt you with a confirmation message to ensure this is your intended action. Click Delete to complete the removal.
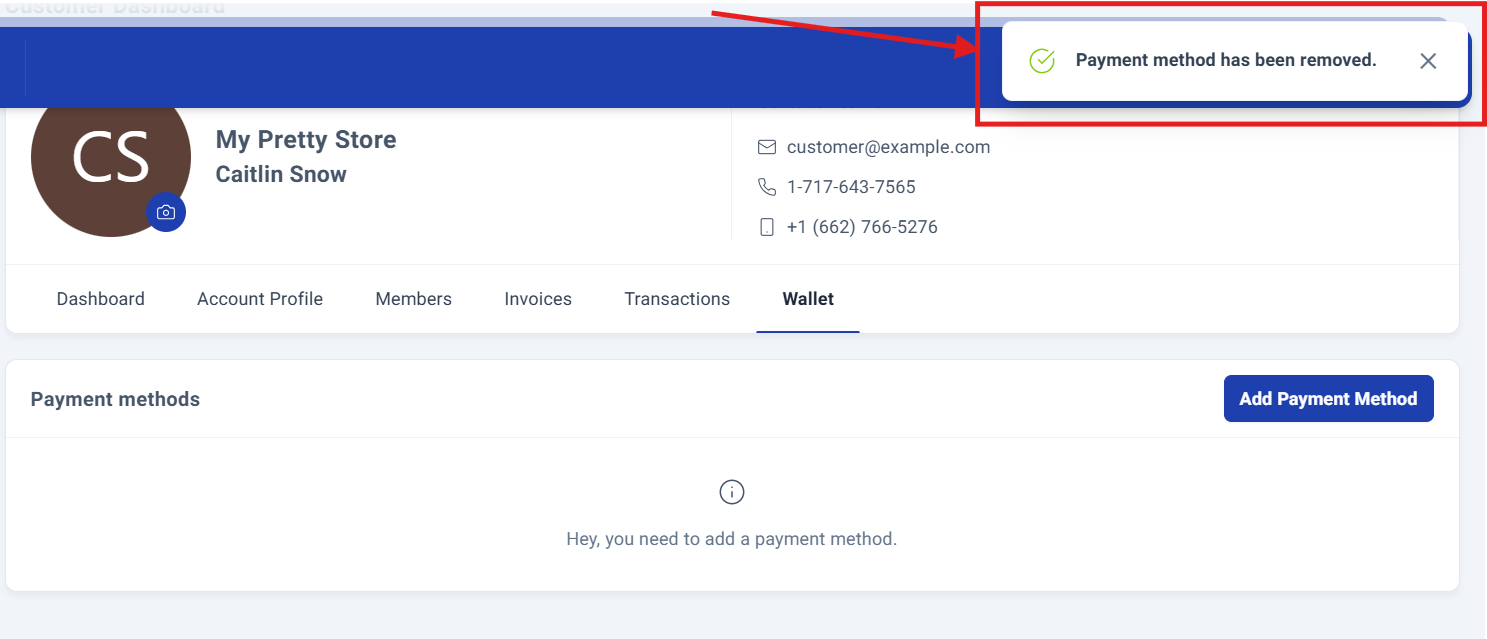
Upon completion, a confirmation message will appear in the upper right corner, verifying that the payment method has been successfully removed.
Process Complete!
You have successfully managed the payment methods.
Was this article helpful?
That’s Great!
Thank you for your feedback
Sorry! We couldn't be helpful
Thank you for your feedback
Feedback sent
We appreciate your effort and will try to fix the article